This page provides an instruction & guide for developers building a GPT Action for a specific application. Before you proceed, make sure to first familiarize yourself with the following information:
This particular GPT Action provides an overview of how to connect to Salesforce, specifically, Salesforce Service Cloud. This schema detailed in this Action allows the user to pull case data and update cases directly from ChatGPT. The setup process to create Actions for other Salesforce Cloud solutions uses the same Connected App and authentication setup, but will require a different API schema.
Value + Example Business Use Cases
Value: Users can now leverage ChatGPT's natural language capability to connect directly to Salesforce
Example Use Cases:
- Reduce average response time to customers
- Reduce time to troubleshoot cases or issues
- Ensure more consistent brand voice in reponse to customers when combined with knowledge and instructions in the GPT
Application Information
Application Key Links
Check out these links from the application before you get started:
Application Prerequisites
Before you get started, make sure you go through the following steps in your application environment:
- Ensure you have permissions to create an App in Salesforce
ChatGPT Steps
Custom GPT Instructions
Once you've created a Custom GPT, copy the text below in the Instructions panel. Have questions? Check out Getting Started Example to see how this step works in more detail.
**Context**: Your purpose is to pull information from Service Cloud, and push updates to cases. A user is going to ask you a question and ask you to make updates.

**Instructions**:
1. When a user asks you to help them solve a case in Service Cloud, ask for the case number and pull the details for the case into the conversation using the getCaseDetailsFromNumber action.
2. If the user asks you to update the case details, use the action updateCaseStatus.

**Example**:
User: Help me solve case 00001104 in Service Cloud.
OpenAPI Schema
Once you've created a Custom GPT, copy the text below in the Actions panel. Have questions? Check out Getting Started Example to see how this step works in more detail.
openapi: 3.1.0
info:
  title: Salesforce Service Cloud Case Update API
  description: API for updating the status of Service Cloud tickets (cases) in Salesforce.
  version: 1.0.3
servers:
  - url: https://your_instance.my.salesforce.com
    description: Base URL for your Salesforce instance (replace 'your_instance' with your actual Salesforce domain)
paths:
  /services/data/v60.0/sobjects/Case/{CaseId}:
    patch:
      operationId: updateCaseStatus
      summary: Updates the status of a Service Cloud case
      description: Updates the status of a Service Cloud ticket based on the case ID number.
      parameters:
        - name: CaseId
          in: path
          required: true
          description: The ID of the case to update.
          schema:
            type: string
      requestBody:
        required: true
        content:
          application/json:
            schema:
              type: object
              properties:
                Status:
                  type: string
                  description: The new status of the case.
      responses:
        '204':
          description: Successfully updated the case status
        '400':
          description: Bad request - invalid input or case ID not found
        '401':
          description: Unauthorized - authentication required
        '404':
          description: Not Found - case ID does not exist
    delete:
      operationId: deleteCase
      summary: Deletes a Service Cloud case
      description: Deletes a Service Cloud ticket based on the case ID number.
      parameters:
        - name: CaseId
          in: path
          required: true
          description: The ID of the case to delete.
          schema:
            type: string
      responses:
        '204':
          description: Successfully deleted the case
        '400':
          description: Bad request - invalid case ID
        '401':
          description: Unauthorized - authentication required
        '404':
          description: Not Found - case ID does not exist
  /services/data/v60.0/query:
    get:
      operationId: getCaseDetailsFromNumber
      summary: Retrieves case details using a case number
      description: Retrieves the details of a Service Cloud case associated with a given case number.
      parameters:
        - name: q
          in: query
          required: true
          description: SOQL query string to find the Case details based on Case Number.
          schema:
            type: string
            example: "SELECT Id, CaseNumber, Status, Subject, Description FROM Case WHERE CaseNumber = '123456'"
      responses:
        '200':
          description: Successfully retrieved the case details
          content:
            application/json:
              schema:
                type: object
                properties:
                  totalSize:
                    type: integer
                  done:
                    type: boolean
                  records:
                    type: array
                    items:
                      type: object
                      properties:
                        Id:
                          type: string
                        CaseNumber:
                          type: string
                        Status:
                          type: string
                        Subject:
                          type: string
                        Description:
                          type: string
        '400':
          description: Bad request - invalid query
        '401':
          description: Unauthorized - authentication required
        '404':
          description: Not Found - case number does not exist
Authentication Instructions
Below are instructions on setting up authentication with this 3rd party application. Have questions? Check out Getting Started Example to see how this step works in more detail.
Pre-Action Steps
Before you set up authentication in ChatGPT, please take the following steps in the application.
Before you set up authentication in ChatGPT, please take the following steps in the application.
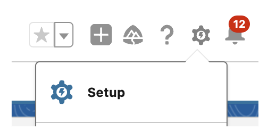
- Navigate to Salesforce Setup
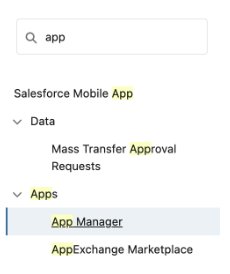
- Search for “App Manager”
- Click “New Connected App”
- Enter a Connected App Name
- Enter contact email (your email)
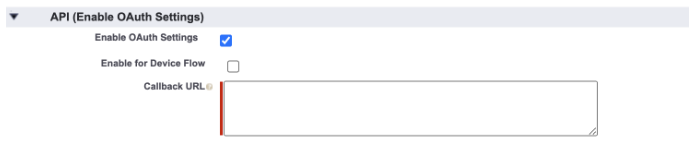
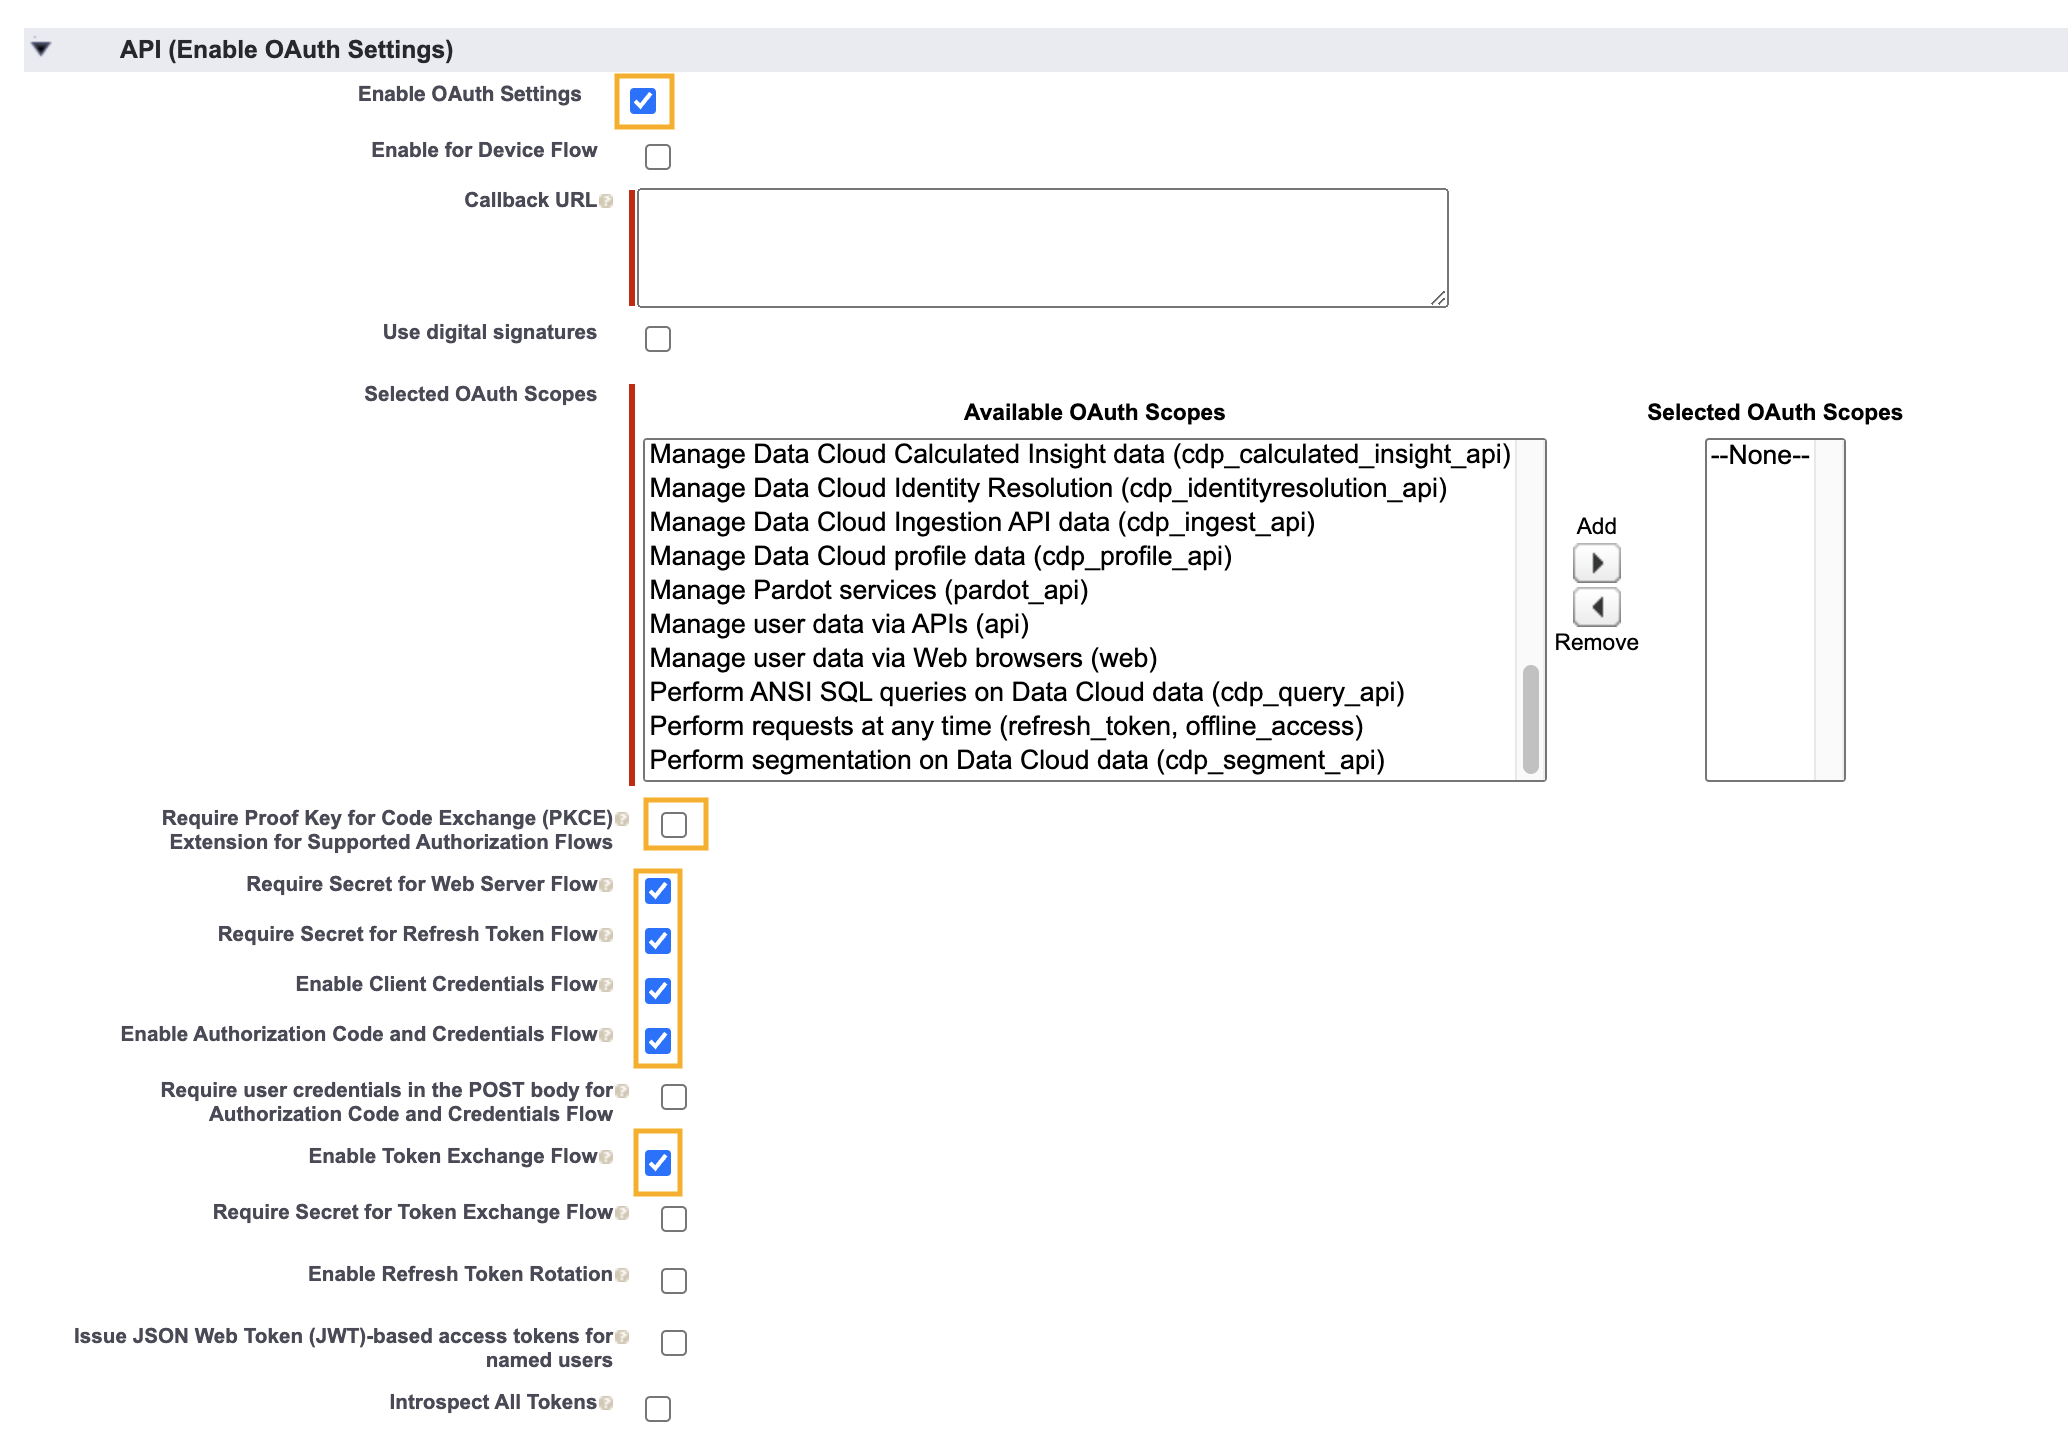
- Check the box to enable OAuth settings
- Insert a callback URL (use a placeholder like https://chat.openai.com/aip//oauth/callback for now, you’ll update this later when you create the Action in ChatGPT)
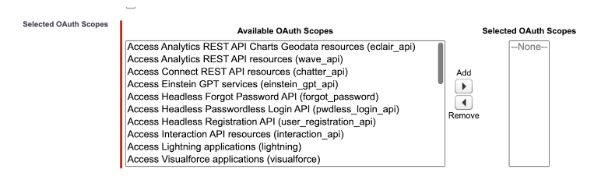
- Select “Selected OAuth Scopes” and grant the appropriate permissions. Scope these based on your internal security policies.
- Ensure the following boxes are checked:
- Enable Client Credentials Flow
- Enable Authorization Code and Credentials FLow
- Enable Token Exchange Flow
- Ensure the following box is unchecked:
- Require Proof Key for Code Exchange (PKCE) Extension for Supported Authorization Flows
- Save your New Connected App
- Under “Consumer Key and Secret” click “Manage Consumer Details”. Verify your access using the code emailed to your account, and then copy the key and secret.
- Salesforce Consumer Key = ChatGPT Client ID
- Salesforce Consumer Secret = ChatGPT Client Secret

- Return to App page
- Click “Manage”
- Click “Edit Policies”
- Under OAuth Policies, check the “Enable Token Exchange Flow” box
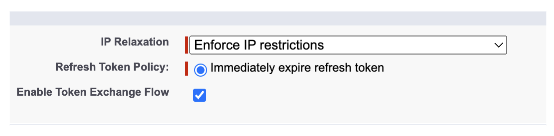
- Click save!
In ChatGPT
In ChatGPT, click on "Authentication" and choose "OAuth". Enter in the information below.
- Client ID: use Client ID from steps above
- Client Secret: use Client Secret from steps above
- Authorization URL: https://[inserturlhere].my.salesforce.com/services/oauth2/authorize
- Token URL: https://[inserturlhere].my.salesforce.com/services/oauth2/token
- Scope: full
- Token: Default (POST)
Post-Action Steps
Once you've set up authentication in ChatGPT, follow the steps below in the application to finalize the Action.
- Copy the callback URL from the GPT Action
- Navigate back to your Connected App in Salesforce, and add your callback URL.
FAQ & Troubleshooting
- Callback URL Error: If you get a callback URL error in ChatGPT, pay close attention to the screenshot above. You need to add the callback URL directly into Salesforce for the action to authenticate correctly
- Internal Server Error: Ensure all the correct boxes are checked and/or unchecked in the OAuth settings for your connected app.
Are there integrations that you’d like us to prioritize? Are there errors in our integrations? File a PR or issue in our github, and we’ll take a look.