Before you prompt
Think of prompting like briefing a cinematographer who has never seen your storyboard. If you leave out details, they’ll improvise – and you may not get what you envisioned. By being specific about what the “shot” should achieve, you give the model more control and consistency to work with.
But leaving some details open can be just as powerful. Giving the model more creative freedom can lead to surprising variations and unexpected, beautiful interpretations. Both approaches are valid: detailed prompts give you control and consistency, while lighter prompts open space for creative outcomes. The right balance depends on your goals and the result you’re aiming for. Treat your prompt as a creative wish list, not a contract. Like with ChatGPT, using the same prompt multiple times will lead to different results – this is a feature, not a bug. Each generation is a fresh take, and sometimes the second or third option is better.
Most importantly, be prepared to iterate. Small changes to camera, lighting, or action can shift the outcome dramatically. Collaborate with the model: you provide direction, and the model delivers creative variations.
This isn’t an exact science—think of the guidance below as helpful suggestions we’ve learned from working with the model.
API Parameters
The prompt controls the content of the video, but certain attributes are governed only by API parameters. You cannot request them in prose, they must be set explicitly in your API call:
- model:
sora-2orsora-2-pro. - size: a string in the form {width}x{height}. Supported resolutions are dependent on the model selection:
- sora-2
- 1280x720, 720x1280
- sora-2-pro
- 1280x720, 720x1280
- 1024x1792, 1792x1024
- sora-2
- seconds: the clip length, supported values: “4”, “8”, “12”. Default value is “4”.
These parameters are the video’s container – resolution, duration, and quality will not change based on prose like “make it longer.” Set them explicitly in the API call; your prompt controls everything else (subject, motion, lighting, style).
Video Resolution
Video resolution directly influences visual fidelity and motion consistency in Sora. Higher resolutions generate detail, texture, and lighting transitions more accurately, while lower resolutions compress visual information, often introducing softness or artifacts.
Video Length
The model generally follows instructions more reliably in shorter clips. For best results, aim for concise shots. If your project allows, you may see better results by stitching together two 4 second clips in editing instead of generating a single 8 second clip.
Prompt anatomy that works
A clear prompt describes a shot as if you were sketching it onto a storyboard. State the camera framing, note depth of field, describe the action in beats, and set the lighting and palette. Anchoring your subject with a few distinctive details keeps it recognizable, while a single, plausible action makes the shot easier to follow.
Describing multiple shots in a single prompt is also valid if you need to cover a sequence. When you do this, keep each shot block distinct: one camera setup, one subject action, and one lighting recipe at a time. This gives you flexibility to generate short standalone clips or longer, continuous moments, depending on your project. Treat each shot as a creative unit, and you can either stitch them together in an edit or let them play out as a sequence in one go.
- Shorter prompts give the model more creative freedom. Expect surprising results.
- Longer, more detailed prompts restrict the model's creativity. It will try to follow your guidance, but might not always do so reliably.
Here's an example for a short prompt:
In a 90s documentary-style interview, an old Swedish man sits in a study and says, "I still remember when I was young."This prompt will likely work well:
90s documentarysets the style of the video. The model will choose variables like camera lens, lighting and color grade accordingly.an old Swedish man sits in a studydescribes subject and setting in minor detail, letting the model take creative liberties in what the person and setting should look like.and says, "I still remember when I was young."describes the dialogue. Sora will likely be able to follow this exactly.
This prompt will reliably produce videos that match these requirements. However, it might not match your vision exactly as many details are left open. For example, the prompt does not describe the time of day, weather, outfits, tone, look and age of the character, camera angles, cuts, set design and many other factors. Unless you describe these details, Sora will make them up.
Going Ultra-Detailed
For complex, cinematic shots, you can go beyond the standard prompt structure and specify the look, camera setup, grading, soundscape, and even shot rationale in professional production terms. This is similar to how a director briefs a camera crew or VFX team. Detailed cues for lensing, filtration, lighting, grading, and motion help the model lock onto a very specific aesthetic.
For example, you might describe what the viewer notices first, the camera platform and lens, lighting direction, color palette, texture qualities, diegetic sound, and shot timing. This approach works well when you want to match real cinematography styles (e.g., IMAX aerials, 35mm handheld, vintage 16mm documentary) or maintain strict continuity across shots.
Example
Format & Look
Duration 4s; 180° shutter; digital capture emulating 65 mm photochemical contrast; fine grain; subtle halation on speculars; no gate weave.

Lenses & Filtration
32 mm / 50 mm spherical primes; Black Pro-Mist 1/4; slight CPL rotation to manage glass reflections on train windows.

Grade / Palette
Highlights: clean morning sunlight with amber lift.
Mids: balanced neutrals with slight teal cast in shadows.
Blacks: soft, neutral with mild lift for haze retention.

Lighting & Atmosphere
Natural sunlight from camera left, low angle (07:30 AM).
Bounce: 4×4 ultrabounce silver from trackside.
Negative fill from opposite wall.
Practical: sodium platform lights on dim fade.
Atmos: gentle mist; train exhaust drift through light beam.

Location & Framing
Urban commuter platform, dawn.
Foreground: yellow safety line, coffee cup on bench.
Midground: waiting passengers silhouetted in haze.
Background: arriving train braking to a stop.
Avoid signage or corporate branding.

Wardrobe / Props / Extras
Main subject: mid-30s traveler, navy coat, backpack slung on one shoulder, holding phone loosely at side.
Extras: commuters in muted tones; one cyclist pushing bike.
Props: paper coffee cup, rolling luggage, LED departure board (generic destinations).

Sound
Diegetic only: faint rail screech, train brakes hiss, distant announcement muffled (-20 LUFS), low ambient hum.
Footsteps and paper rustle; no score or added foley.

Optimized Shot List (2 shots / 4 s total)

0.00–2.40 — “Arrival Drift” (32 mm, shoulder-mounted slow dolly left)
Camera slides past platform signage edge; shallow focus reveals traveler mid-frame looking down tracks. Morning light blooms across lens; train headlights flare softly through mist. Purpose: establish setting and tone, hint anticipation.

2.40–4.00 — “Turn and Pause” (50 mm, slow arc in)
Cut to tighter over-shoulder arc as train halts; traveler turns slightly toward camera, catching sunlight rim across cheek and phone screen reflection. Eyes flick up toward something unseen. Purpose: create human focal moment with minimal motion.

Camera Notes (Why It Reads)
Keep eyeline low and close to lens axis for intimacy.
Allow micro flares from train glass as aesthetic texture.
Preserve subtle handheld imperfection for realism.
Do not break silhouette clarity with overexposed flare; retain skin highlight roll-off.

Finishing
Fine-grain overlay with mild chroma noise for realism; restrained halation on practicals; warm-cool LUT for morning split tone.
Mix: prioritize train and ambient detail over footstep transients.
Poster frame: traveler mid-turn, golden rim light, arriving train soft-focus in background haze.
Visual cues that steer the look
When writing prompts, style is one of the most powerful levers for guiding the model toward your desired outcome. Describing the overall aesthetic – for example, “1970s film,” “epic, IMAX-scale scene,” or “16mm black-and-white film” – sets a visual tone that frames all other choices. Establish this style early so the model can carry it through consistently.
The same details will read very differently depending on whether you call for a polished Hollywood drama, a handheld smartphone clip, or a grainy vintage commercial. Once the tone is set, layer in specifics with shot, action, and light.
Clarity wins. Instead of vague cues like “a beautiful street,” write “wet asphalt, zebra crosswalk, neon sign reflection.” Instead of “moves quickly,” specify “jogs three steps and stops at the curb.” Verbs and nouns that point to visible results will always give you a clearer, more consistent output.
| Weak prompt | Strong prompt |
|---|---|
| “A beautiful street at night” | “Wet asphalt, zebra crosswalk, neon signs reflecting in puddles” |
| “Person moves quickly” | “Cyclist pedals three times, brakes, and stops at crosswalk” |
| “Cinematic look” | “Anamorphic 2.0x lens, shallow DOF, volumetric light” |
Camera direction and framing shape how a shot feels. A wide shot from above will emphasize space and context, while a close-up at eye level will focus attention on emotion. Depth of field adds another layer: shallow focus can make a subject stand out against a blurred background, while deep focus keeps both foreground and background sharp. Lighting sets tone just as strongly. A soft, warm key creates something inviting, while a single hard light with cool edges pushes toward drama.
When introducing characters, expect some unpredictability—small changes in phrasing can alter identity, pose, or the focus of the scene itself. Keep descriptions consistent across shots, reuse phrasing for continuity, and avoid mixing traits that may compete.
Weak
Camera shot: cinematic lookStrong
Camera shot: wide shot, low angle
Depth of field: shallow (sharp on subject, blurred background)
Lighting + palette: warm backlight with soft rim
Some examples for good framing instructions:
- wide establishing shot, eye level
- wide shot, tracking left to right with the charge
- aerial wide shot, slight downward angle
- medium close-up shot, slight angle from behind
Some examples for good camera motion instructions:
- slowly tilting camera
- handheld eng camera
Control motion and timing
Movement is often the hardest part to get right, so keep it simple. Each shot should have one clear camera move and one clear subject action. Actions work best when described in beats or counts – small steps, gestures, or pauses – so they feel grounded in time.
“Actor walks across the room” doesn’t give much to work with. A line like “Actor takes four steps to the window, pauses, and pulls the curtain in the final second” makes the timing precise and achievable.
Weak
Actor walks across the room.Strong
Actor takes four steps to the window, pauses, and pulls the curtain in the final second.Lighting and color consistency
Light determines mood as much as action or setting. Diffuse light across the frame feels calm and neutral, while a single strong source creates sharp contrast and tension. When you want to cut multiple clips together, keeping lighting logic consistent is what makes the edit seamless.
Describe both the quality of the light and the color anchors that reinforce it. Instead of a broad note like “brightly lit room,” specify the mix of sources and tones: “soft window light with a warm lamp fill and a cool edge from the hallway.” Naming three to five colors helps keep the palette stable across shots.
Weak
Lighting + palette: brightly lit roomStrong
Lighting + palette: soft window light with warm lamp fill, cool rim from hallway
Palette anchors: amber, cream, walnut brown
Use image input for more control
For even more fine-grained control over the composition and style of a shot, you can use an image input as a visual reference. You can use photos, digital artwork or AI generated visuals. This locks in elements like character design, wardrobe, set dressing, or overall aesthetic. The model uses the image as an anchor for the first frame, while your text prompt defines what happens next.
How to use it
Include an image file as the input_reference parameter in your POST /videos request.
- The image must match the target video’s resolution (size).
- Supported file formats are:
image/jpeg,image/png, andimage/webp.
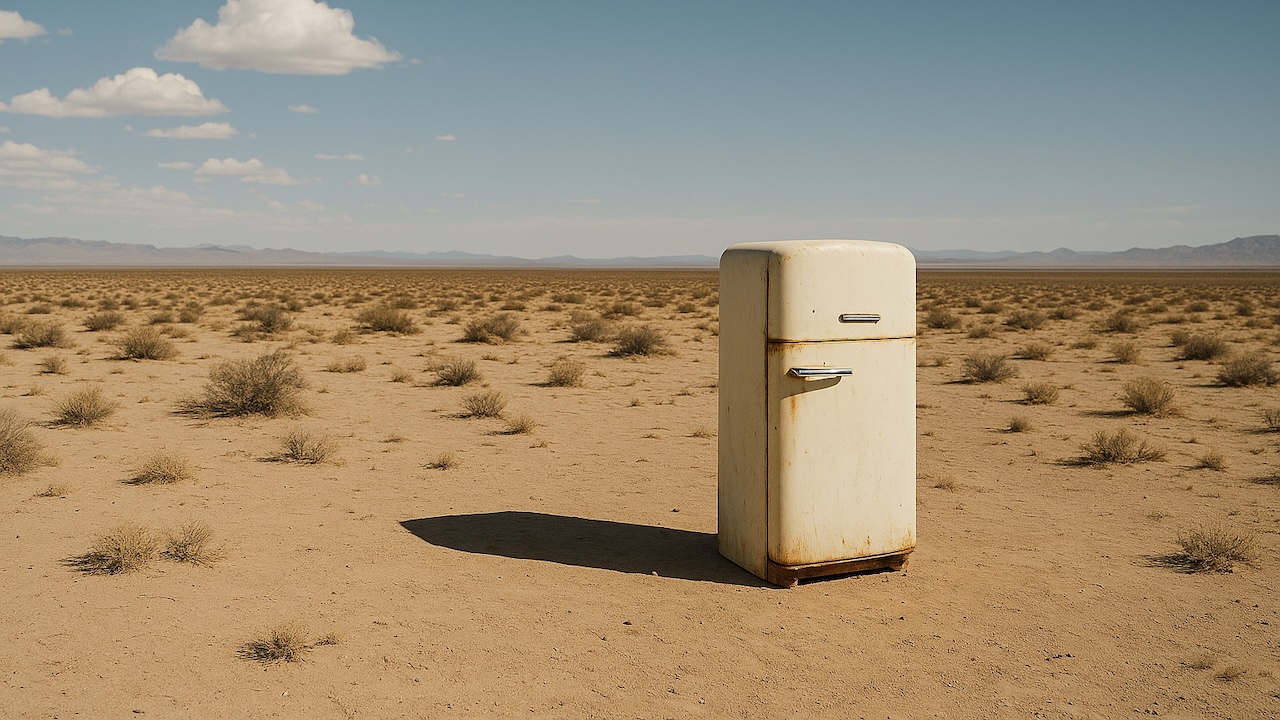
| Input image generated with OpenAI GPT Image | Generated video using Sora 2 (converted to GIF) |
|---|---|
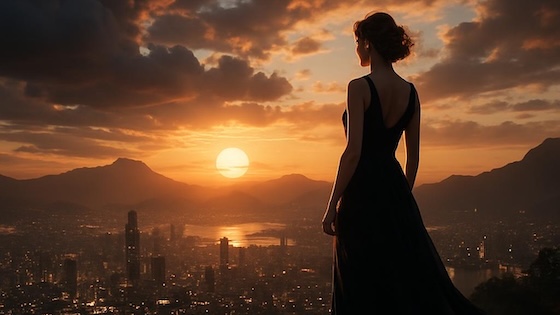 | 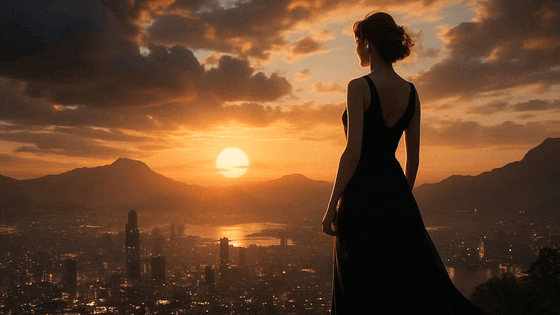 Prompt: “She turns around and smiles, then slowly walks out of the frame.” |
 |  Prompt: “The fridge door opens. A cute, chubby purple monster comes out of it.” |
Experimentation tip
If you don’t already have visual references, OpenAI’s image generation model is a powerful way to create them. You can quickly produce environments and scene designs and then pass them into Sora as references. This is a great way to test aesthetics and generate beautiful starting points for your videos.
Dialogue and Audio
Dialogue must be described directly in your prompt. Place it in a block below your prose description so the model clearly distinguishes visual description from spoken lines. Keep lines concise and natural, and try to limit exchanges to a handful of sentences so the timing can match your clip length. For multi-character scenes, label speakers consistently and use alternating turns; this helps the model associate each line with the correct character’s gestures and expressions.
You should also think about rhythm and timing: a 4-second shot will usually accommodate one or two short exchanges, while an 8-second clip can support a few more. Long, complex speeches are unlikely to sync well and may break pacing.
If your shot is silent, you can still suggest pacing with one small sound, such as “distant traffic hiss” or “a crisp snap.” Think of it as a rhythm cue rather than a full soundtrack.
Example prompt with dialogue:
A cramped, windowless room with walls the color of old ash. A single bare bulb dangles from the ceiling, its light pooling onto the scarred metal table at the center. Two chairs face each other across it. On one side sits the Detective, trench coat draped across the back of his chair, eyes sharp and unblinking. Across from him, the Suspect slouches, cigarette smoke curling lazily toward the ceiling. The silence presses in, broken only by the faint hum of the overhead light.

Dialogue:
- Detective: "You’re lying. I can hear it in your silence."
- Suspect: "Or maybe I’m just tired of talking."
- Detective: "Either way, you’ll talk before the night’s over."
Example description of background sound:
The hum of espresso machines and the murmur of voices form the background.Iterate with the remix functionality
Remix is for nudging, not gambling. Use it to make controlled changes – one at a time – and say what you’re changing: “same shot, switch to 85 mm,” or “same lighting, new palette: teal, sand, rust.” When a result is close, pin it as a reference and describe only the tweak. That way, everything that already works stays locked.
If a shot keeps misfiring, strip it back: freeze the camera, simplify the action, clear the background. Once it works, layer additional complexity step by step.
| Original Video | Remix Generated Video |
|---|---|
Original Video |  Prompt: “Change the color of the monster to orange” |
Original Video | 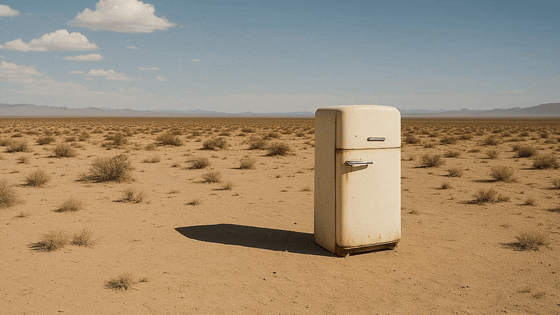 Prompt: “A second monster comes out right after” |
Prompt Templates and Examples
Prompt Structure
One effective way to write prompts is to separate the different kinds of information you want the model to use. This is not a one-size-fits-all recipe for success, but it gives you a clear framework and makes it easier to be consistent. Not every detail needs to be included – if something doesn’t matter for the shot, you can leave it out.
In fact, leaving certain elements open-ended will encourage the model to be more creative. The less tightly you specify every visual choice, the more room the model has to interpret and surprise you with unexpected but often beautiful variations. Highly descriptive prompts yield more consistent, controlled results, while lighter prompts can unlock diverse outcomes that feel fresh and imaginative. Descriptive Prompt Template:
[Prose scene description in plain language. Describe characters, costumes, scenery, weather and other details. Be as descriptive to generate a video that matches your vision.]

Cinematography:
Camera shot: [framing and angle, e.g. wide establishing shot, eye level]
Mood: [overall tone, e.g. cinematic and tense, playful and suspenseful, luxurious anticipation]

Actions:
- [Action 1: a clear, specific beat or gesture]
- [Action 2: another distinct beat within the clip]
- [Action 3: another action or dialogue line]

Dialogue:
[If the shot has dialogue, add short natural lines here or as part of the actions list. Keep them brief so they match the clip length.]
Prompt Examples
Example 1
Style: Hand-painted 2D/3D hybrid animation with soft brush textures, warm tungsten lighting, and a tactile, stop-motion feel. The aesthetic evokes mid-2000s storybook animation — cozy, imperfect, full of mechanical charm. Subtle watercolor wash and painterly textures; warm–cool balance in grade; filmic motion blur for animated realism.

Inside a cluttered workshop, shelves overflow with gears, bolts, and yellowing blueprints. At the center, a small round robot sits on a wooden bench, its dented body patched with mismatched plates and old paint layers. Its large glowing eyes flicker pale blue as it fiddles nervously with a humming light bulb. The air hums with quiet mechanical whirs, rain patters on the window, and the clock ticks steadily in the background.

Cinematography:
Camera: medium close-up, slow push-in with gentle parallax from hanging tools
Lens: 35 mm virtual lens; shallow depth of field to soften background clutter
Lighting: warm key from overhead practical; cool spill from window for contrast
Mood: gentle, whimsical, a touch of suspense

Actions:
- The robot taps the bulb; sparks crackle.
- It flinches, dropping the bulb, eyes widening.
- The bulb tumbles in slow motion; it catches it just in time.
- A puff of steam escapes its chest — relief and pride.
- Robot says quietly: "Almost lost it… but I got it!"

Background Sound:
Rain, ticking clock, soft mechanical hum, faint bulb sizzle.
Example 2
Style: 1970s romantic drama, shot on 35 mm film with natural flares, soft focus, and warm halation. Slight gate weave and handheld micro-shake evoke vintage intimacy. Warm Kodak-inspired grade; light halation on bulbs; film grain and soft vignette for period authenticity.

At golden hour, a brick tenement rooftop transforms into a small stage. Laundry lines strung with white sheets sway in the wind, catching the last rays of sunlight. Strings of mismatched fairy bulbs hum faintly overhead. A young woman in a flowing red silk dress dances barefoot, curls glowing in the fading light. Her partner — sleeves rolled, suspenders loose — claps along, his smile wide and unguarded. Below, the city hums with car horns, subway tremors, and distant laughter.

Cinematography:
Camera: medium-wide shot, slow dolly-in from eye level
Lens: 40 mm spherical; shallow focus to isolate the couple from skyline
Lighting: golden natural key with tungsten bounce; edge from fairy bulbs
Mood: nostalgic, tender, cinematic

Actions:
- She spins; her dress flares, catching sunlight.
- Woman (laughing): "See? Even the city dances with us tonight."
- He steps in, catches her hand, and dips her into shadow.
- Man (smiling): "Only because you lead."
- Sheets drift across frame, briefly veiling the skyline before parting again.

Background Sound:
Natural ambience only: faint wind, fabric flutter, street noise, muffled music. No added score.